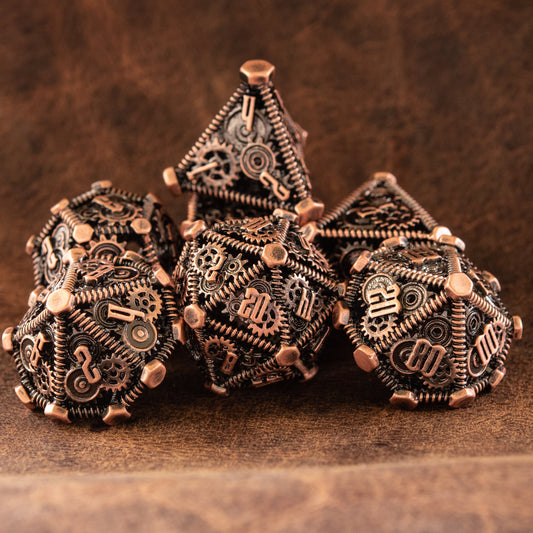
Custom Dice D&D: Crafting Your Own Resin D&D Dice Set
Creating your own custom D&D dice set is a rewarding project that allows you to bring a personal touch to your gaming experience. In this detailed guide, we'll cover everything you need to know about making resin dice, from the materials required to the step-by-step process. We'll also explain the differences between A/B resin and UV resin, and provide tips for achieving the best results.
Materials Needed
- Resin: A/B resin or UV resin.
- Silicone Molds: Specifically designed for dice making.
- Mixing Cups and Sticks: For mixing resin and hardener.
- Pigments and Glitters: To add color and effects to your dice.
- Safety Gear: Gloves, mask, and protective eyewear.
- UV Lamp: Required if using UV resin.
- Toothpicks or Needles: For popping bubbles.
- Sandpaper: Fine-grit for finishing touches.
- Craft Knife: For trimming excess resin.
- Resin Polish: Optional, for a glossy finish.
Understanding Resins: A/B Resin vs. UV Resin
A/B Resin:
- Composition: Consists of two parts: Part A (resin) and Part B (hardener).
- Mixing: Requires mixing in a specific ratio, usually 1:1 or 2:1.
- Curing Time: Typically takes 24-48 hours to cure at room temperature.
- Considerations: Ensure thorough mixing to avoid sticky or soft spots.
UV Resin:
- Composition: Single-component resin that cures under UV light.
- Mixing: No mixing required.
- Curing Time: Cures within minutes under a UV lamp.
- Considerations: Use a high-quality UV lamp for even curing. Prone to yellowing over time.
Step-by-Step Guide to Creating Custom D&D Dice
Step 1: Prepare Your Workspace
- Ensure your work area is clean, well-ventilated, and covered with protective material.
- Gather all your materials and tools.
Step 2: Mix the Resin
-
A/B Resin:
- Measure equal parts of Part A and Part B.
- Pour both parts into a mixing cup.
- Stir slowly and thoroughly for 3-5 minutes to avoid bubbles.
-
UV Resin:
- Pour the required amount of UV resin into a mixing cup.
- No mixing is needed.
Step 3: Add Pigments and Glitters
- Add your chosen pigments and glitters to the mixed resin.
- Stir gently to evenly distribute the color and effects.
Step 4: Pour the Resin into Molds
- Carefully pour the resin mixture into your silicone molds.
- Use a toothpick or needle to pop any surface bubbles.
Step 5: Curing the Resin
-
A/B Resin:
- Allow the resin to cure for 24-48 hours at room temperature.
- Avoid moving the molds during curing to prevent imperfections.
-
UV Resin:
- Place the molds under a UV lamp.
- Cure each side for a few minutes until fully hardened.
Step 6: Demolding
- Once fully cured, gently remove the dice from the molds.
- Be careful not to damage the edges.
Step 7: Finishing Touches
- Trimming: Use a craft knife to trim any excess resin or flash.
- Sanding: Sand any rough edges with fine-grit sandpaper.
- Polishing: Optionally, polish the dice with resin polish for a glossy finish.
Tips and Considerations
- Safety First: Always wear gloves, a mask, and protective eyewear when working with resin.
- Avoid Bubbles: Mix slowly and carefully to minimize bubbles. Use a heat gun or torch to pop surface bubbles.
- Experiment with Colors: Try different pigments and glitters to create unique effects.
- Quality Molds: Invest in high-quality silicone molds for crisp edges and details.
You can watch my TikTok videos
@runerollers DIY Liquid Core Dice#dnddice #dice #dnd ♬ Candy Apples - Ben Lam


