How to Make DnD Dice Molds: A Comprehensive Guide
Creating your own Dungeons & Dragons dice can add a personal touch to your gaming experience. In this guide, we'll walk you through the detailed process of making DnD dice molds from scratch.
Materials Needed
Importance of Quality
Using high-quality materials is crucial for achieving the best results when making DnD dice molds. High-quality materials ensure durability, clarity, and a professional finish, making your custom dice not only functional but also visually appealing.
List of Materials
- Two-part mold-making silicone
- Resin
- Pigment
- Mixing cups
- Stir sticks
- Mold release spray
- Mold frame
- Set of dice molds
- Gloves
- Respirator mask
Step-by-Step Guide
Step 1: Preparing the Mold Frame
Applying Mold Release Spray
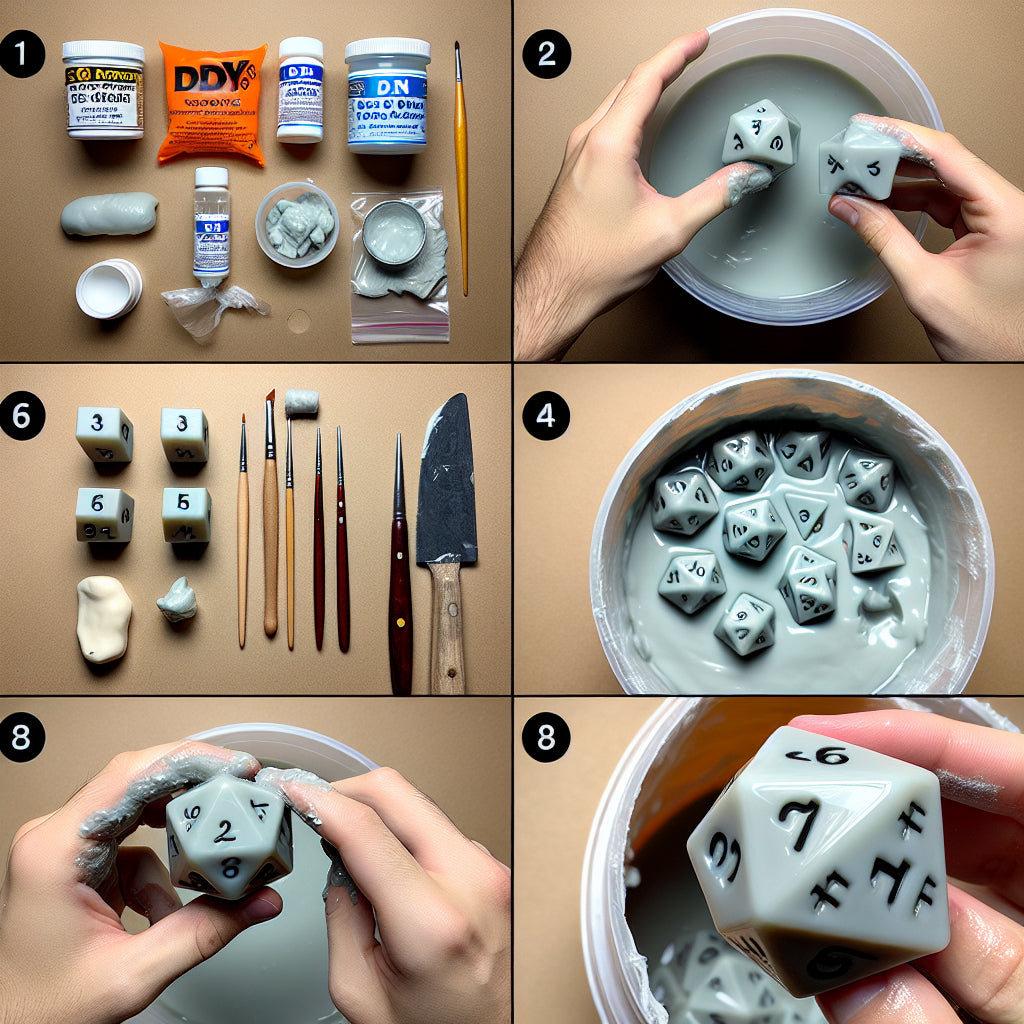
Apply a thin layer of mold release spray inside each mold cavity. This step is essential as it prevents the silicone from sticking to the mold frame, ensuring easy removal later on.
Setup
Set up the mold frame on a flat, level surface. Ensuring the surface is level is critical to avoid any unevenness in the final dice.
Step 2: Mixing the Silicone
Mixing Instructions
Follow the manufacturer’s instructions to mix the two-part silicone thoroughly. Proper mixing is vital to avoid any inconsistencies or weak spots in the mold.
Pouring the Silicone
Pour the mixed silicone into the mold frame and tap gently to remove air bubbles. Air bubbles can create imperfections in the mold, so it's important to eliminate them.
Step 3: Curing the Silicone
Curing Time
Allow the silicone to cure as per the manufacturer’s guidelines. This typically involves letting the silicone sit undisturbed for several hours to ensure it sets properly.
By following these steps carefully, you'll be well on your way to creating high-quality, custom DnD dice molds. Remember, patience and attention to detail are key to achieving the best results.
Step-by-Step Guide (Continued)
Step 4: Demolding and Cleaning
Cleaning
Once the silicone has fully cured, it's time to demold and clean your new mold. Begin by cleaning the silicone mold with warm soapy water. This step is crucial to remove any residual mold release spray or debris that might affect the quality of your resin dice. Ensure the mold is completely dry before moving on to the next step.
Removing the Mold
Carefully remove the mold frame and gently take out the silicone mold. Be patient and gentle to avoid tearing the mold. If the mold feels stuck, you can slightly flex the frame to help release it.
Step 5: Mixing the Resin
Adding Pigment
Now that your mold is ready, it's time to prepare the resin. Follow the manufacturer’s instructions to mix the resin thoroughly. Once mixed, add pigment to achieve your desired color. Stir the mixture well to ensure an even distribution of pigment. This is where you can get creative with different colors and effects like glitter or inclusions.
Preparation
Prepare the resin according to the manufacturer’s instructions. Ensure you are wearing gloves and a respirator mask to protect yourself from any harmful fumes.
Step 6: Pouring the Resin
Filling the Mold
Carefully pour the mixed resin into the silicone mold cavities. Pour slowly to avoid creating air bubbles, which can cause imperfections in your dice. Fill each cavity just to the top.
Removing Air Bubbles
After filling the mold, gently tap it on a flat surface to help any trapped air bubbles rise to the top and escape. You can also use a toothpick to gently stir the resin in each cavity to release any stubborn bubbles.
Step 7: Curing the Resin
Curing Time
Allow the resin to cure as per the manufacturer’s instructions. This usually involves leaving the mold undisturbed for at least 24 hours. Ensure the curing area is free from dust and vibrations to avoid any disturbances that could affect the final product.
Step 8: Demolding and Finishing
Removing the Dice
Once the resin has fully cured, carefully remove the dice from the silicone mold. Be gentle to avoid damaging the mold or the dice.
Smoothing Edges
Examine each die for any rough edges or imperfections. Use fine-grit sandpaper or a file to smooth out any rough spots. Be cautious not to sand too much, as this can affect the balance of the dice.
Tips and Tricks
Common Mistakes to Avoid
- Inadequate Mixing: Ensure both the silicone and resin are mixed thoroughly to avoid weak spots or incomplete curing.
- Ignoring Safety Precautions: Always wear gloves and a respirator mask to protect yourself from harmful chemicals.
- Rushing the Curing Process: Allow ample curing time for both silicone and resin to achieve the best results.
Customizing Your Dice
- Experiment with Colors: Try different pigments, glitters, and inclusions to create unique and personalized dice.
- Incorporate Themes: Match the colors and designs of your dice to your DnD campaign themes for a more immersive experience.
Conclusion
Call to Action
We hope this comprehensive guide on how to make DnD dice molds has inspired you to create your own custom dice. For more DnD crafting tutorials and to join a community of like-minded enthusiasts, visit our website and follow our social media channels.
Encouragement
Don’t be afraid to experiment and make mistakes along the way. Each attempt will bring you closer to mastering the art of dice making. Share your creations with us and the DnD community to inspire others.
Summary
To recap, making your own DnD dice molds involves:
- Preparing the mold frame and applying mold release spray.
- Mixing and pouring the silicone.
- Allowing the silicone to cure.
- Demolding and cleaning the silicone mold.
- Mixing and adding pigment to the resin.
- Pouring the resin into the mold and removing air bubbles.
- Allowing the resin to cure.
- Demolding and finishing the dice.
By following these steps and incorporating your own creative touches, you can create a set of custom dice that will add a personal and unique element to your Dungeons & Dragons gaming experience. Happy crafting!


